1. Sign up
Open Suggix and create an account. You can continue with Google or sign up with email.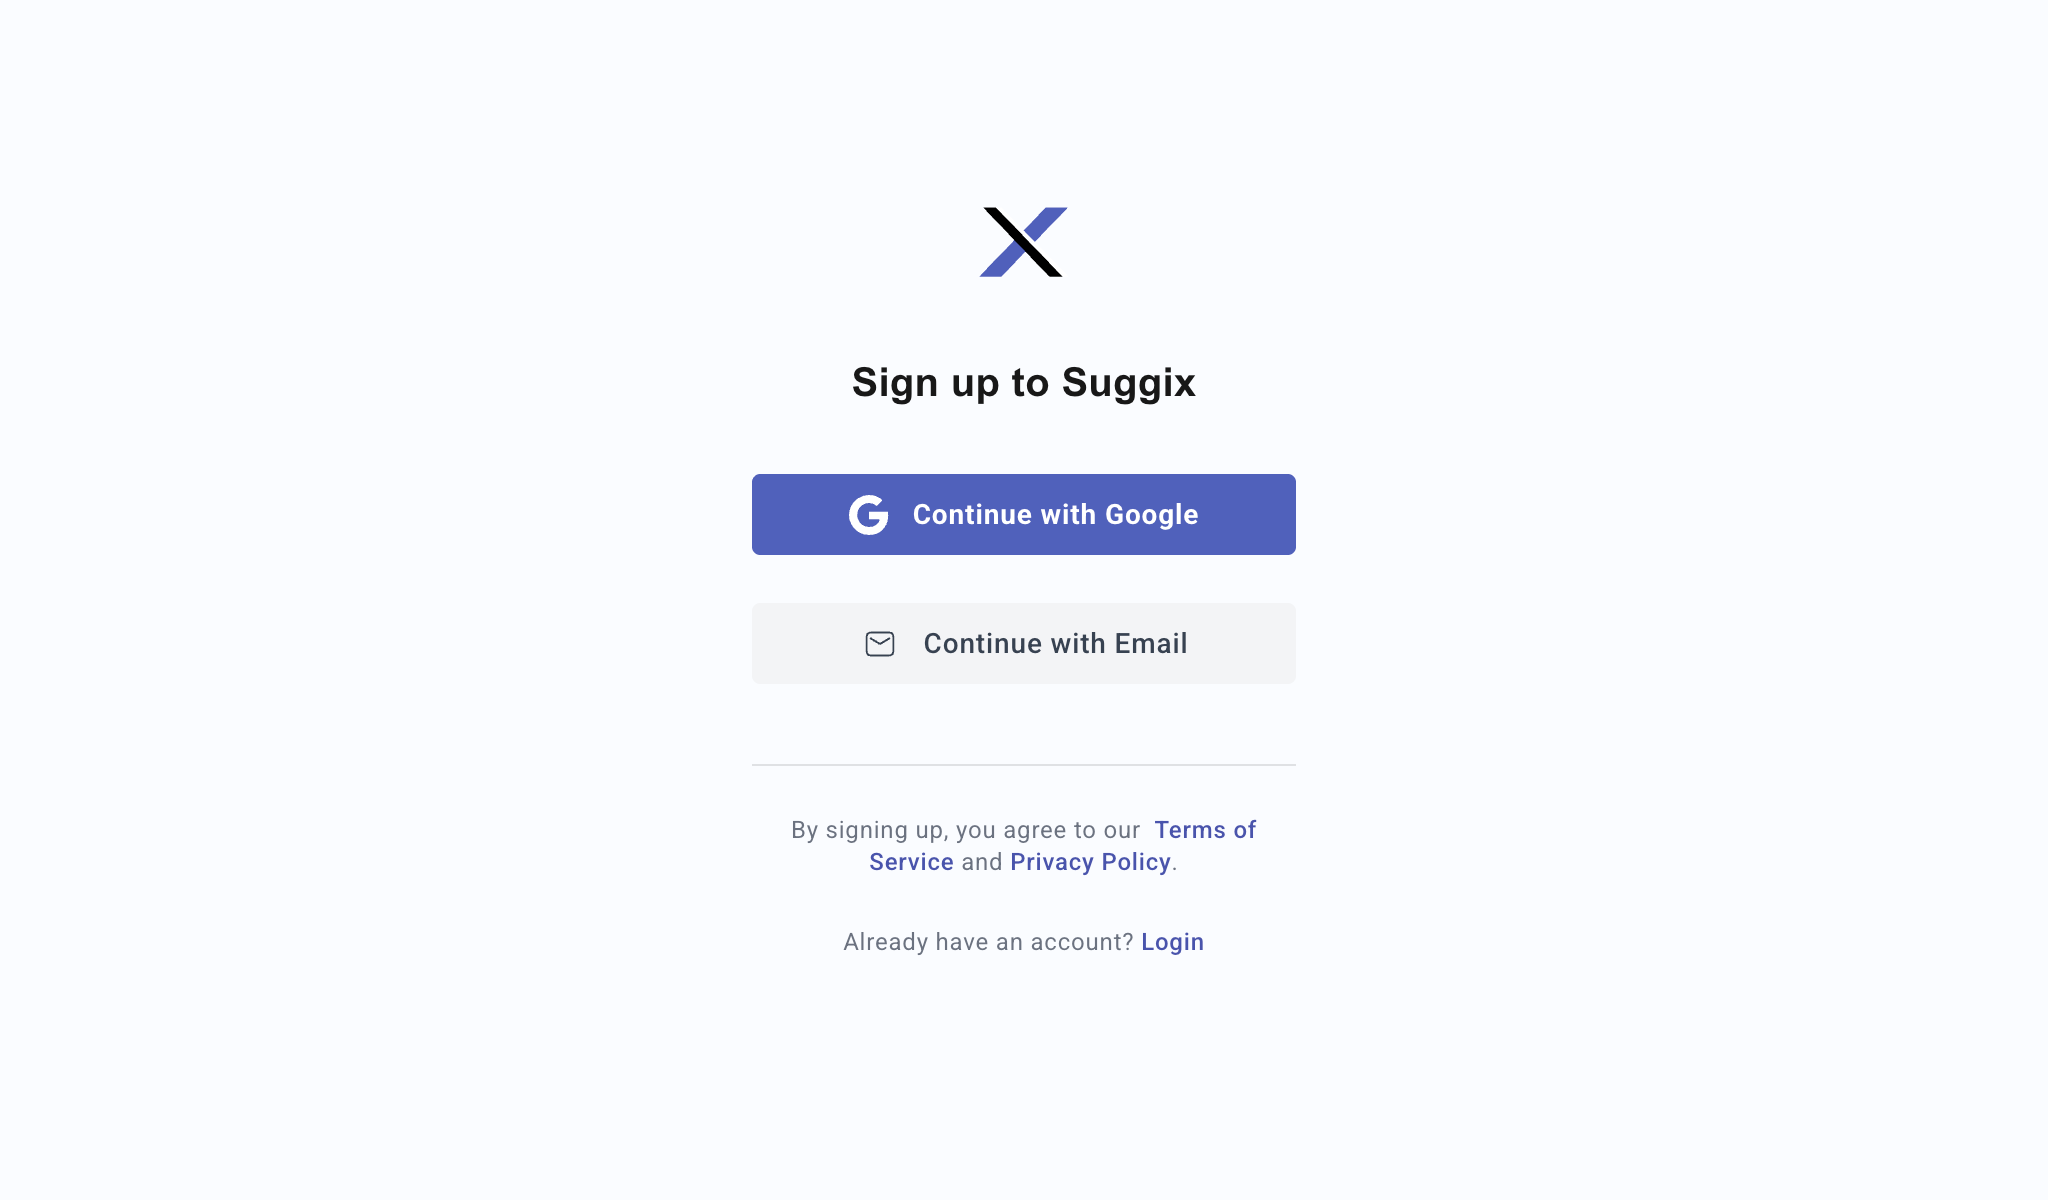
2. Create a workspace
A workspace represents your product, project, or company feedback portal. All boards, posts, roadmap items, changelog entries, users, and settings belong to a workspace.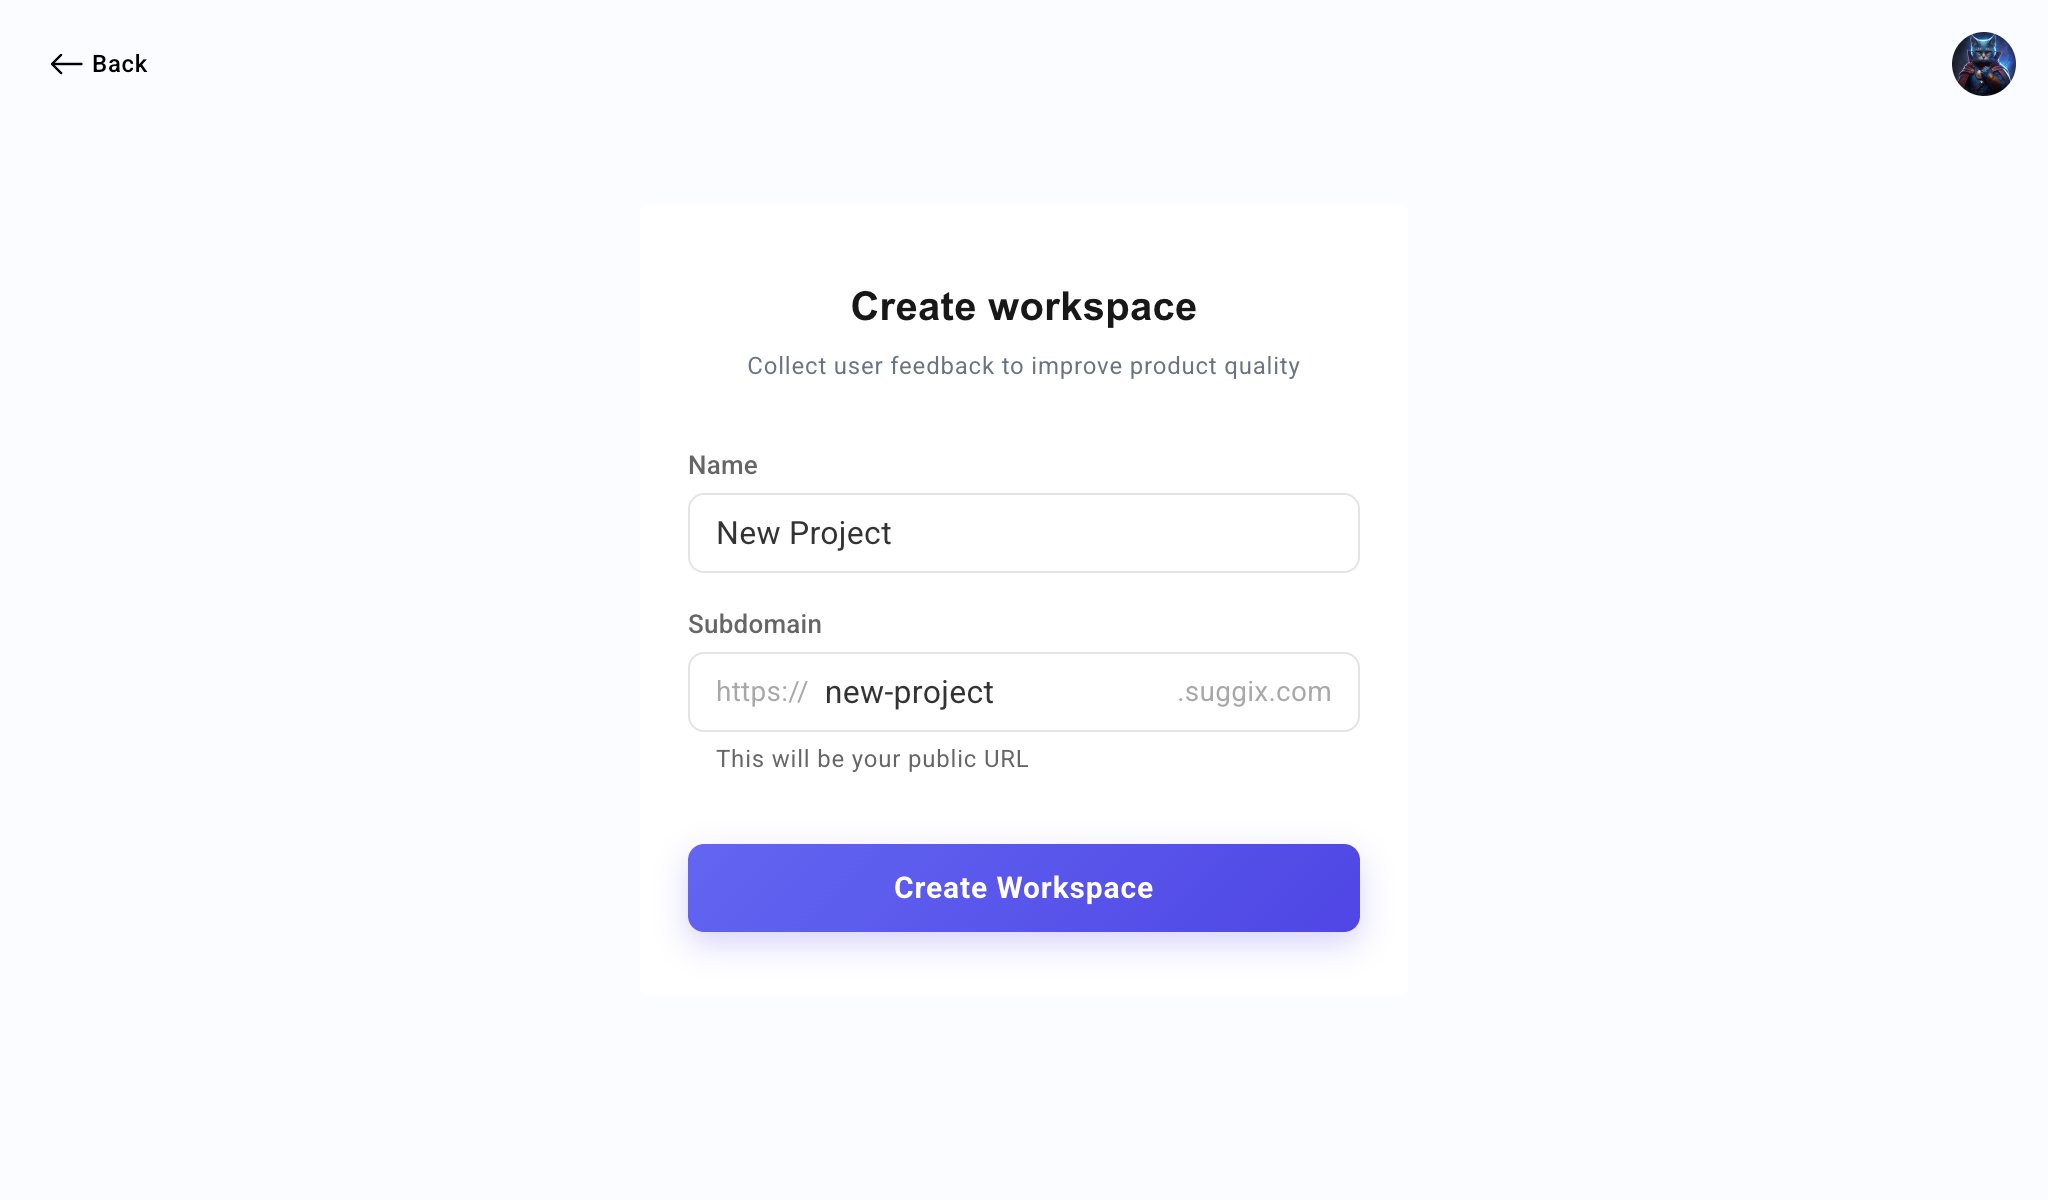
- Name: The workspace name users and team members will see.
- Subdomain: The public portal URL, such as
https://new-project.suggix.com.
3. Complete onboarding
After the workspace is created, Suggix opens the onboarding checklist. You can complete the steps in order or skip setup and configure these options later from Settings.Branding
Add your logo and brand color so the public feedback portal feels familiar to your users.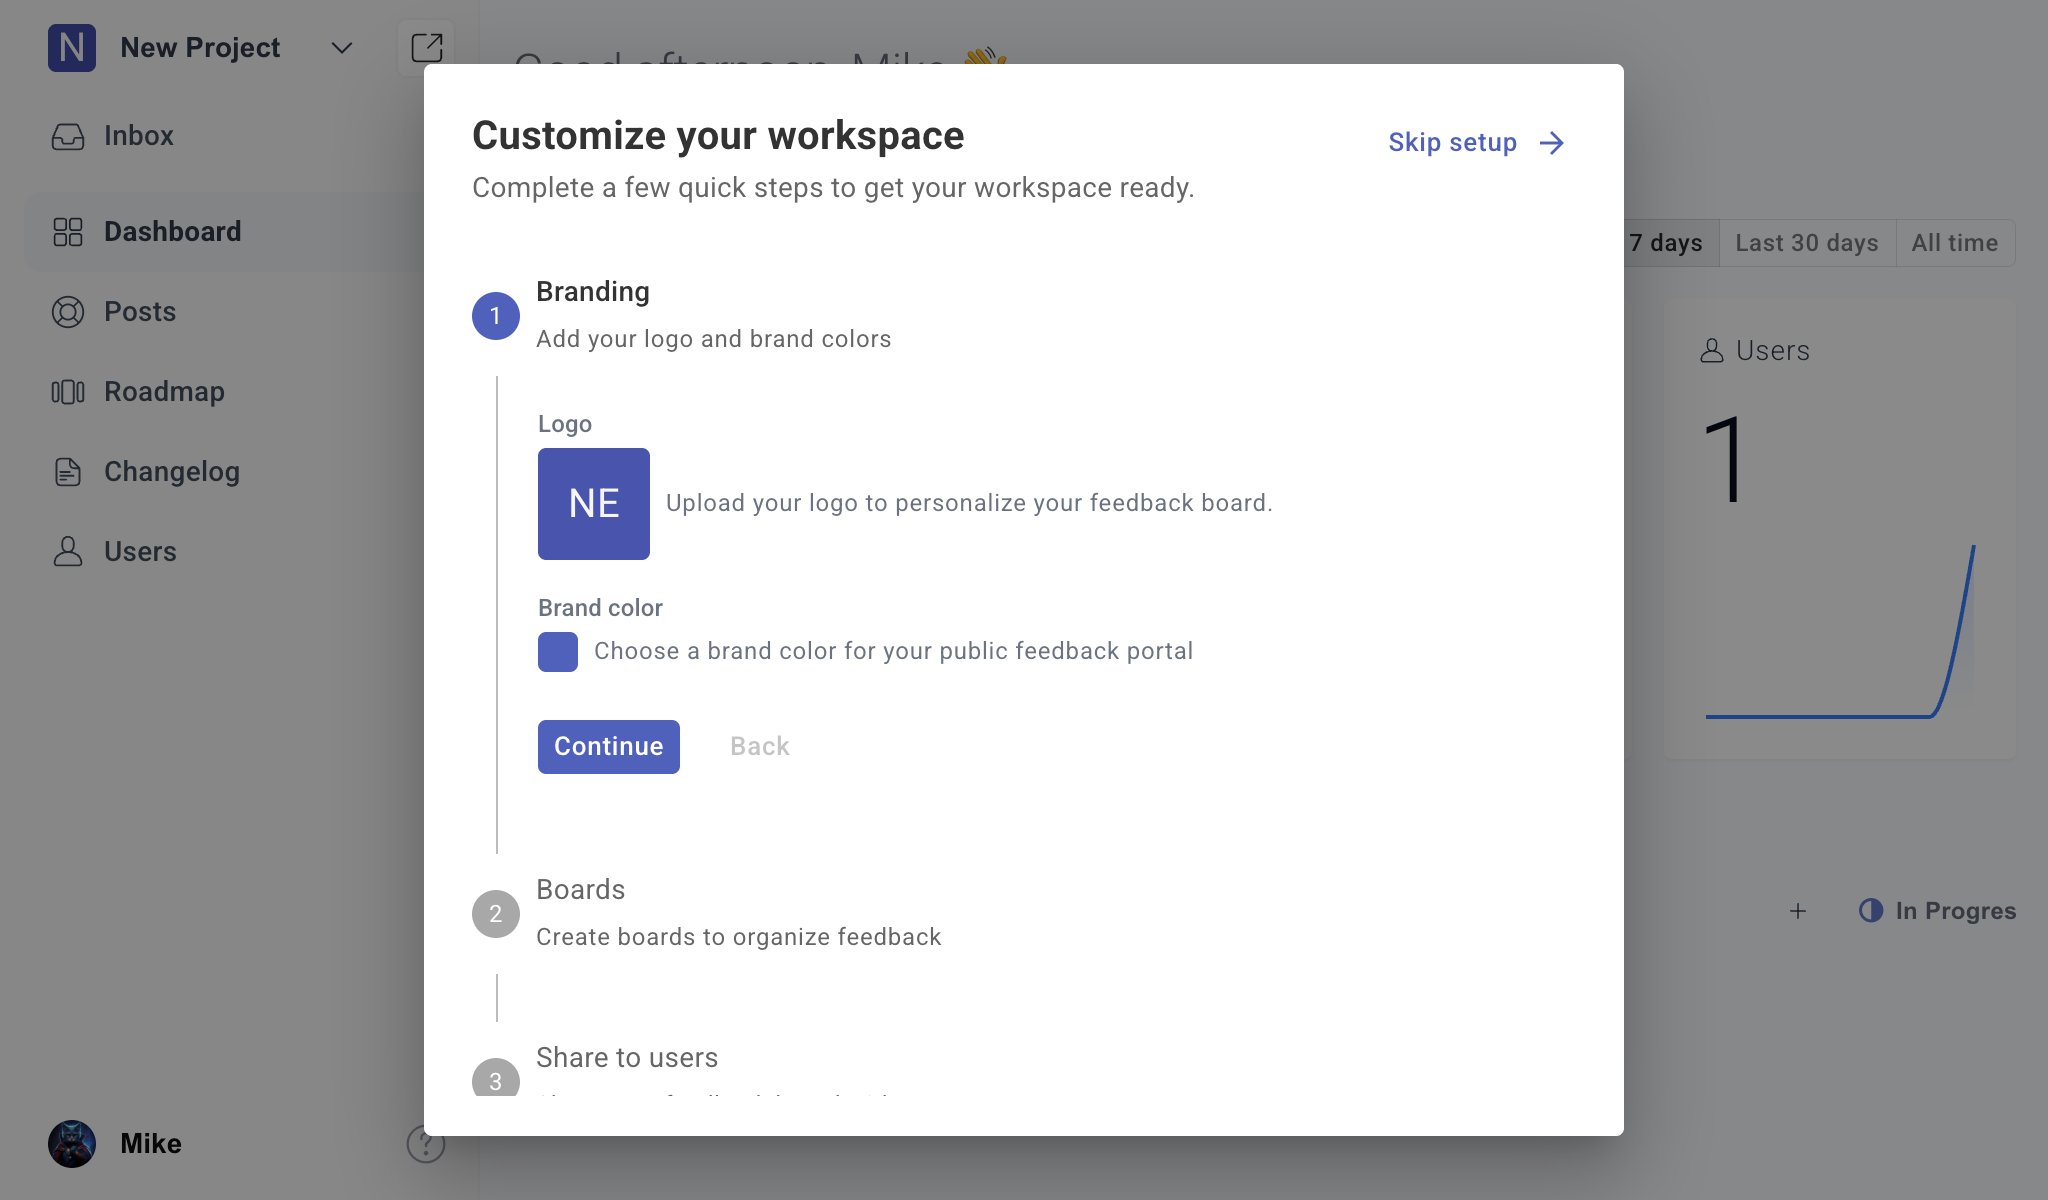
- Workspace icon
- Public portal appearance
- Primary brand color
- User trust and recognition
Boards
Create boards to organize feedback by topic or workflow.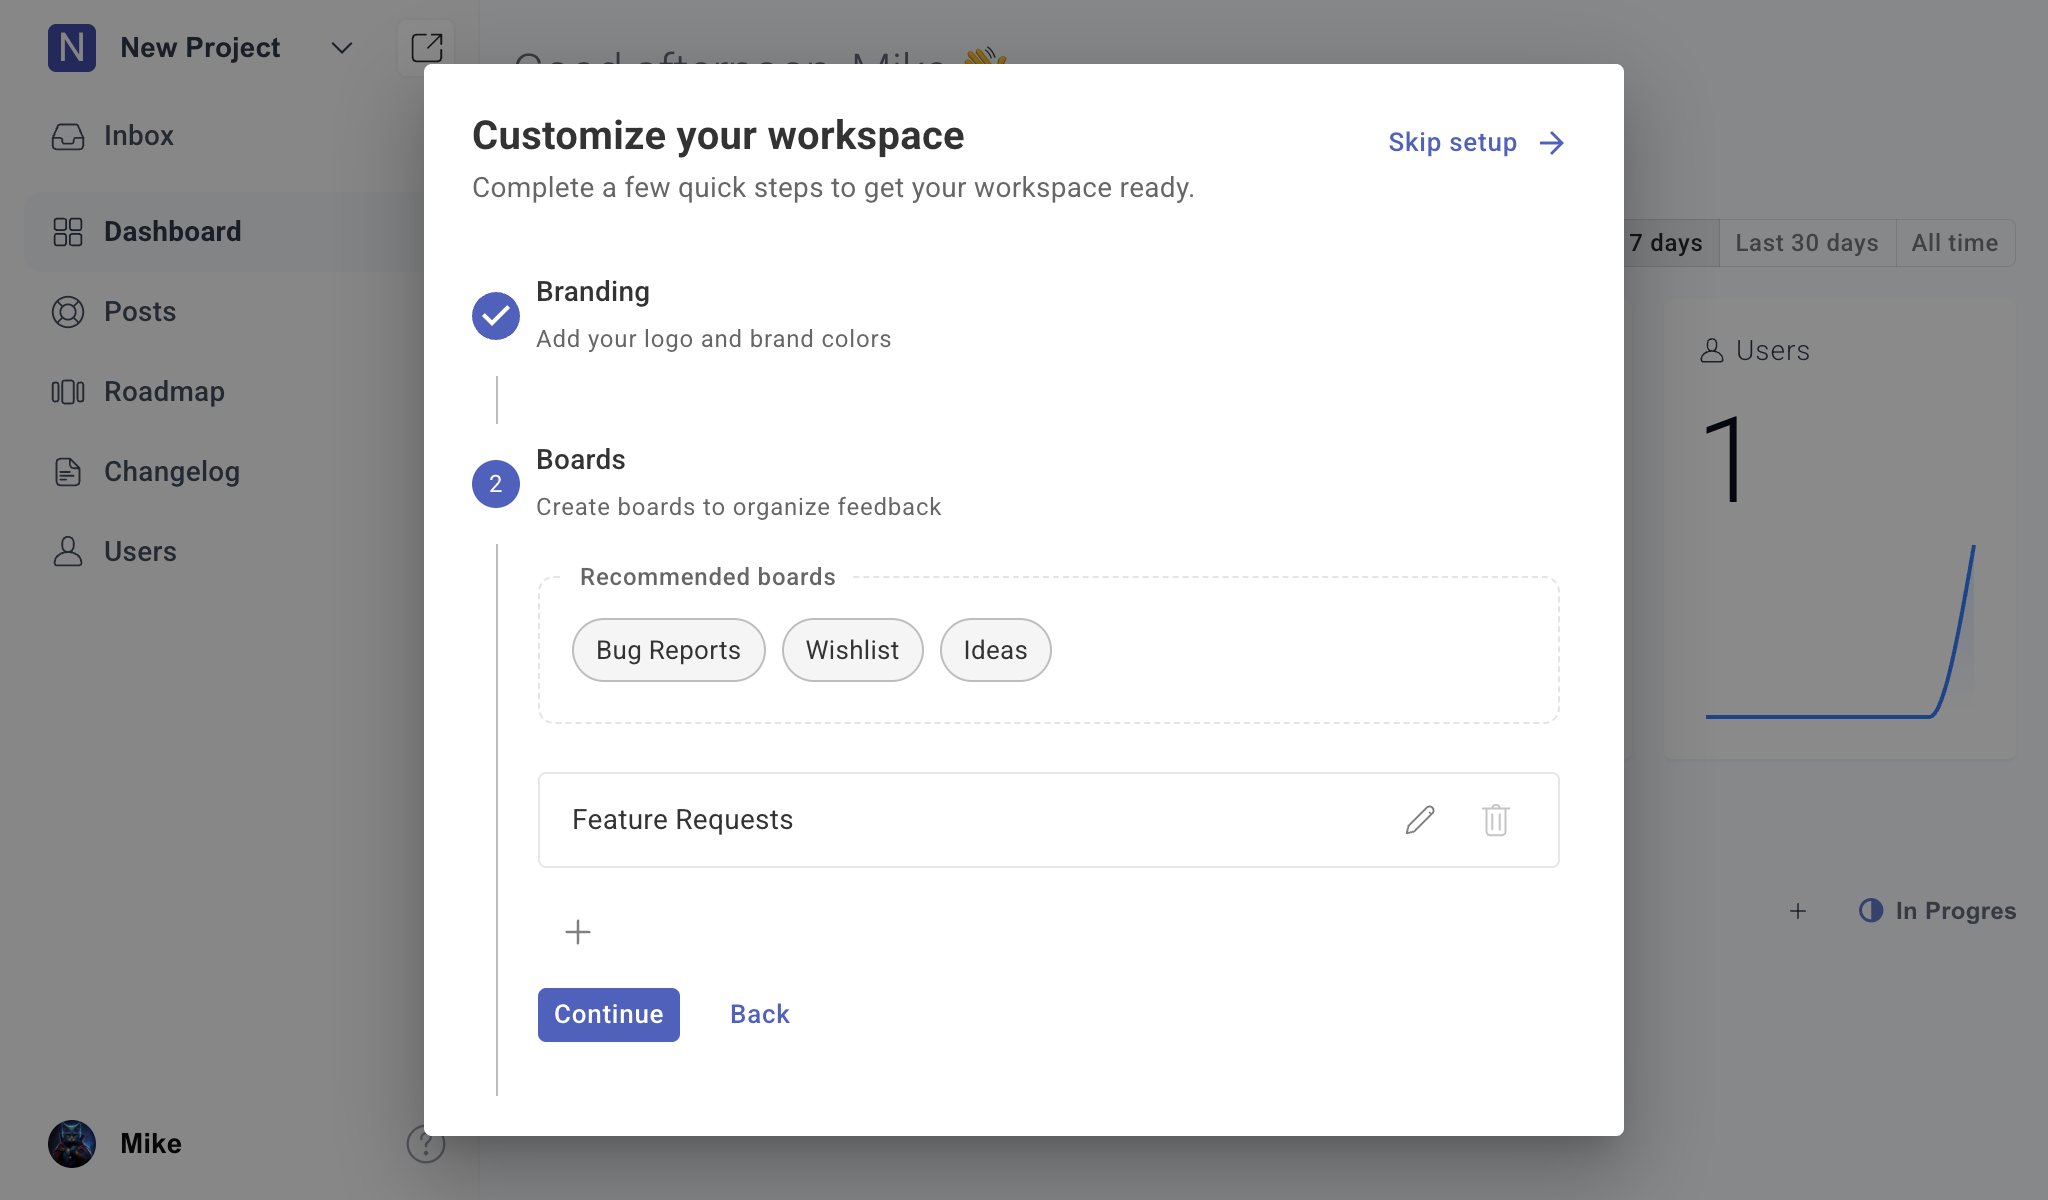
- Bug Reports
- Wishlist
- Ideas
- Feature Requests
Share to users
Share your feedback portal link with users so they can submit feedback, vote on requests, and follow product progress.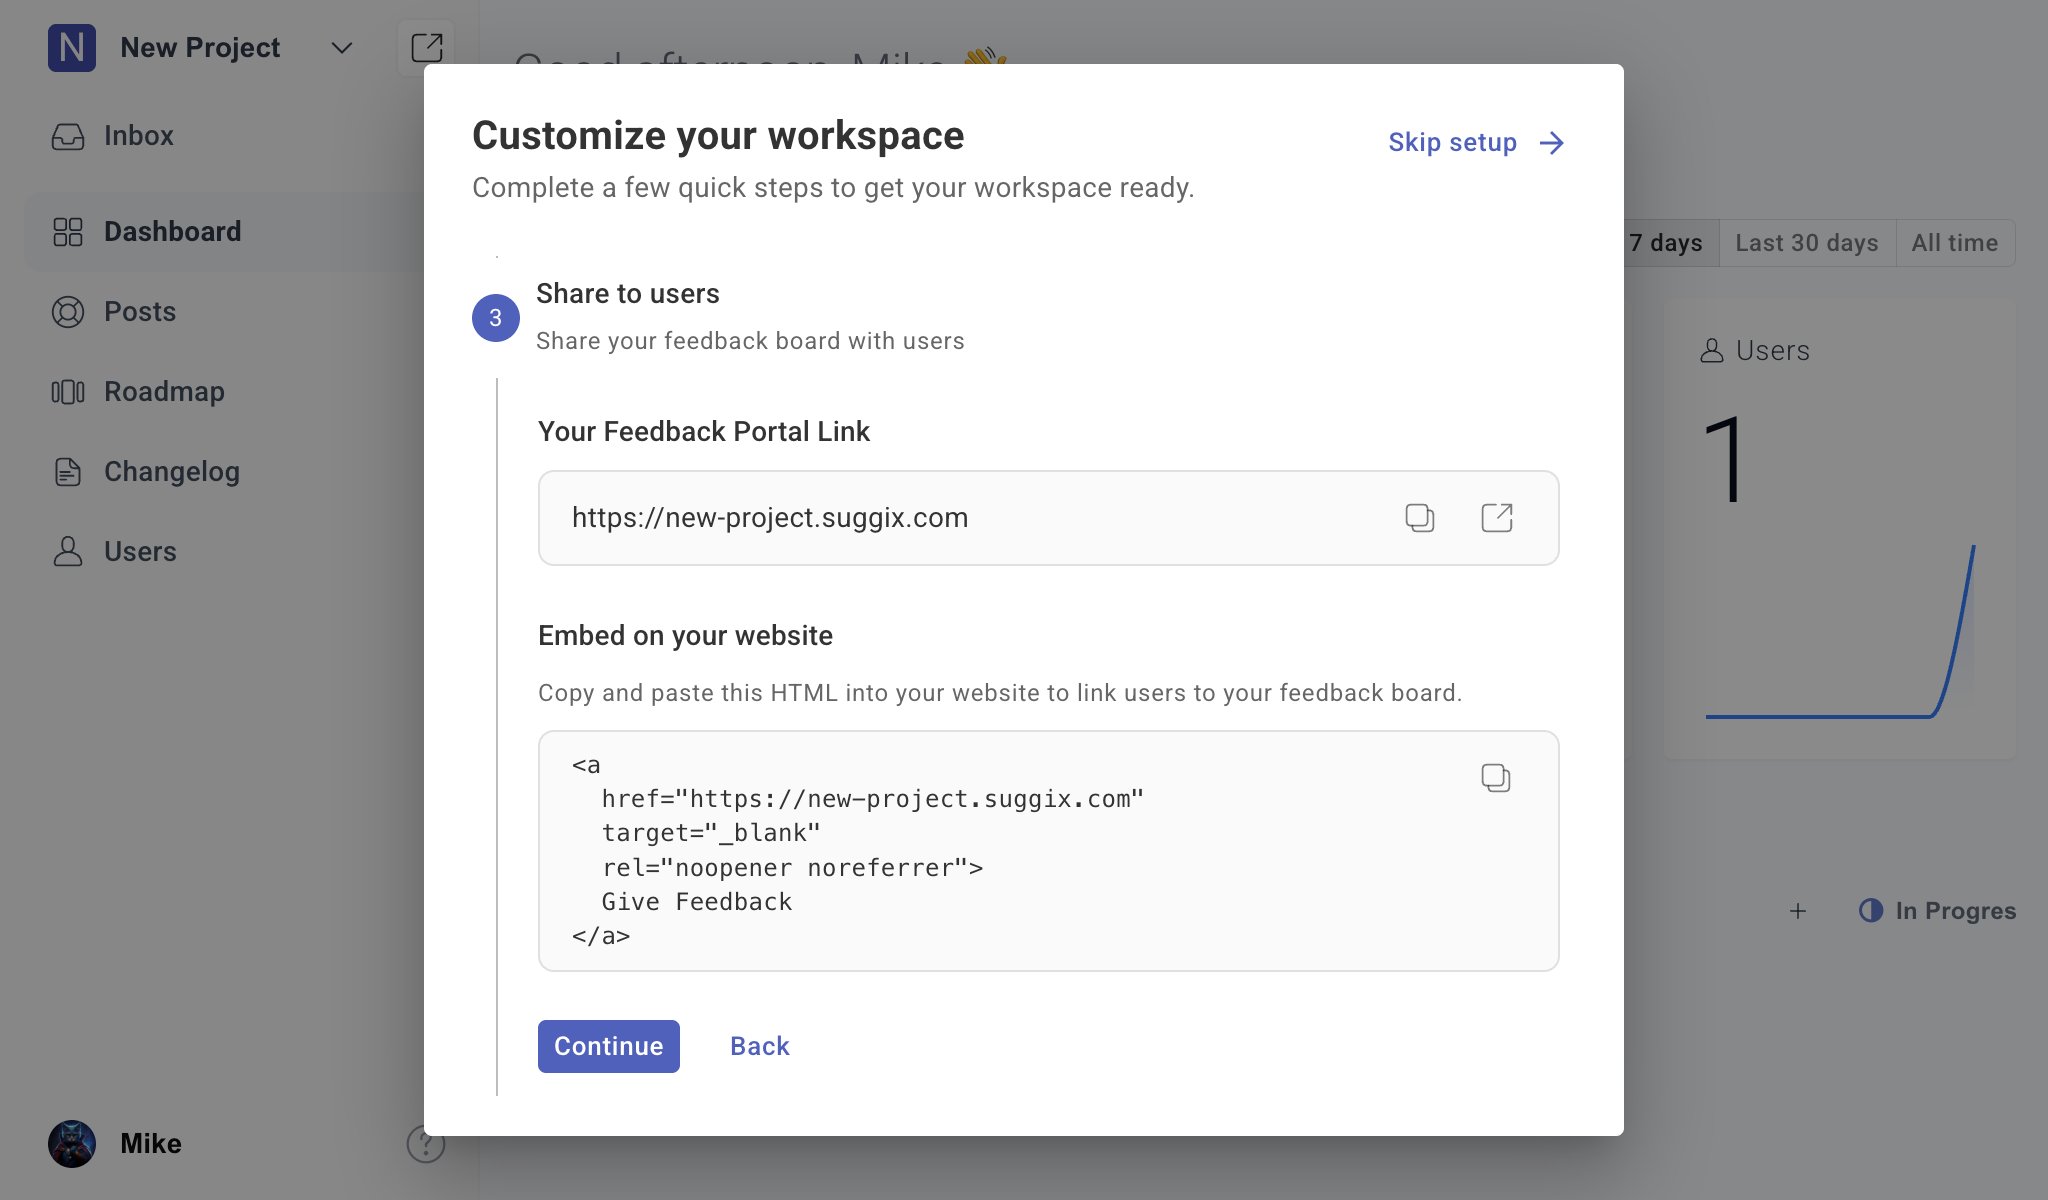
- Your public feedback portal link
- A quick copy action
- A link to open the portal
- HTML you can embed on your website
Invite team
Invite team members who should help review feedback, manage boards, update roadmap items, or publish changelog entries.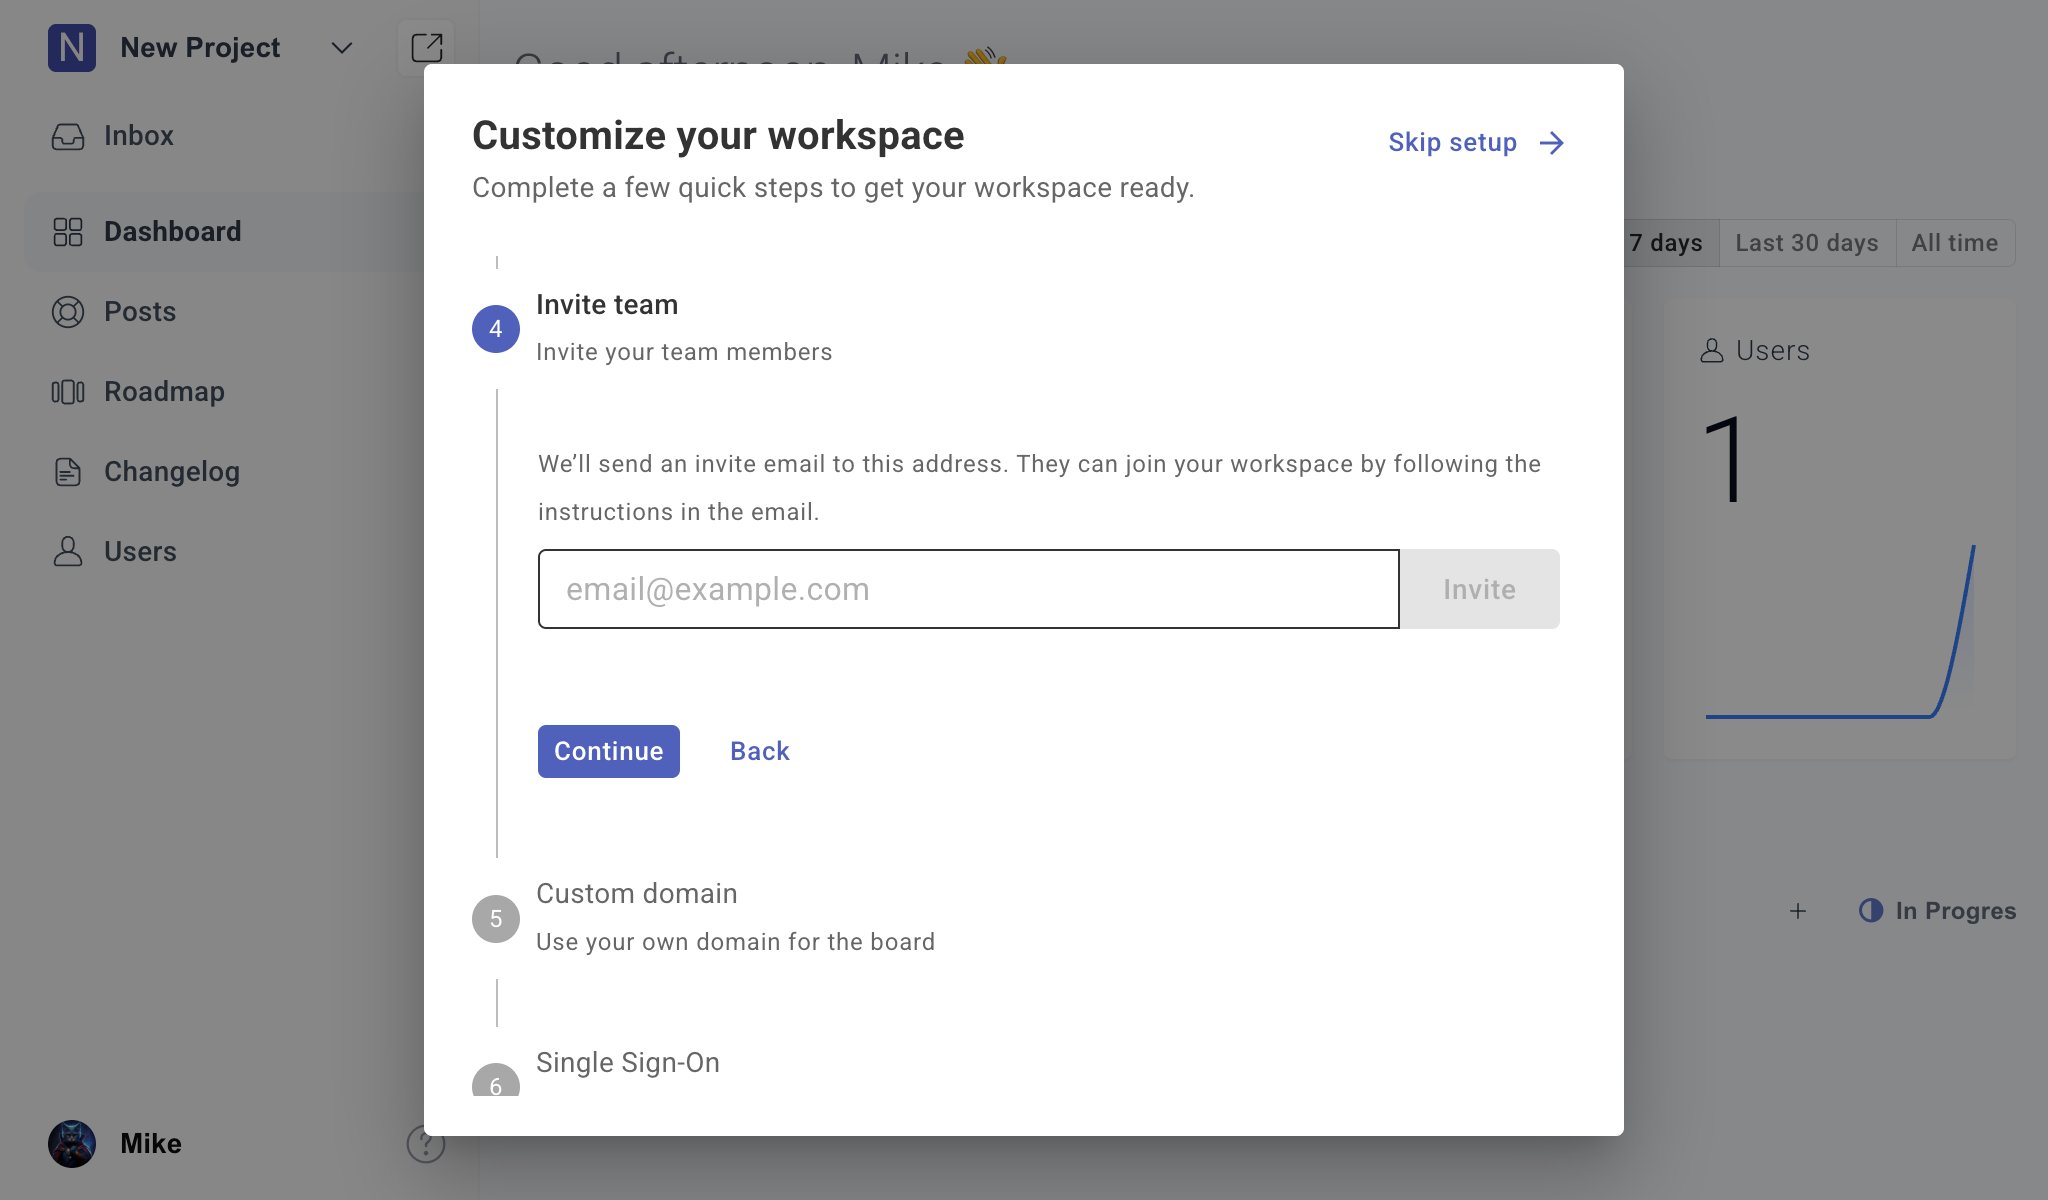
You can invite more team members later from the workspace user settings.
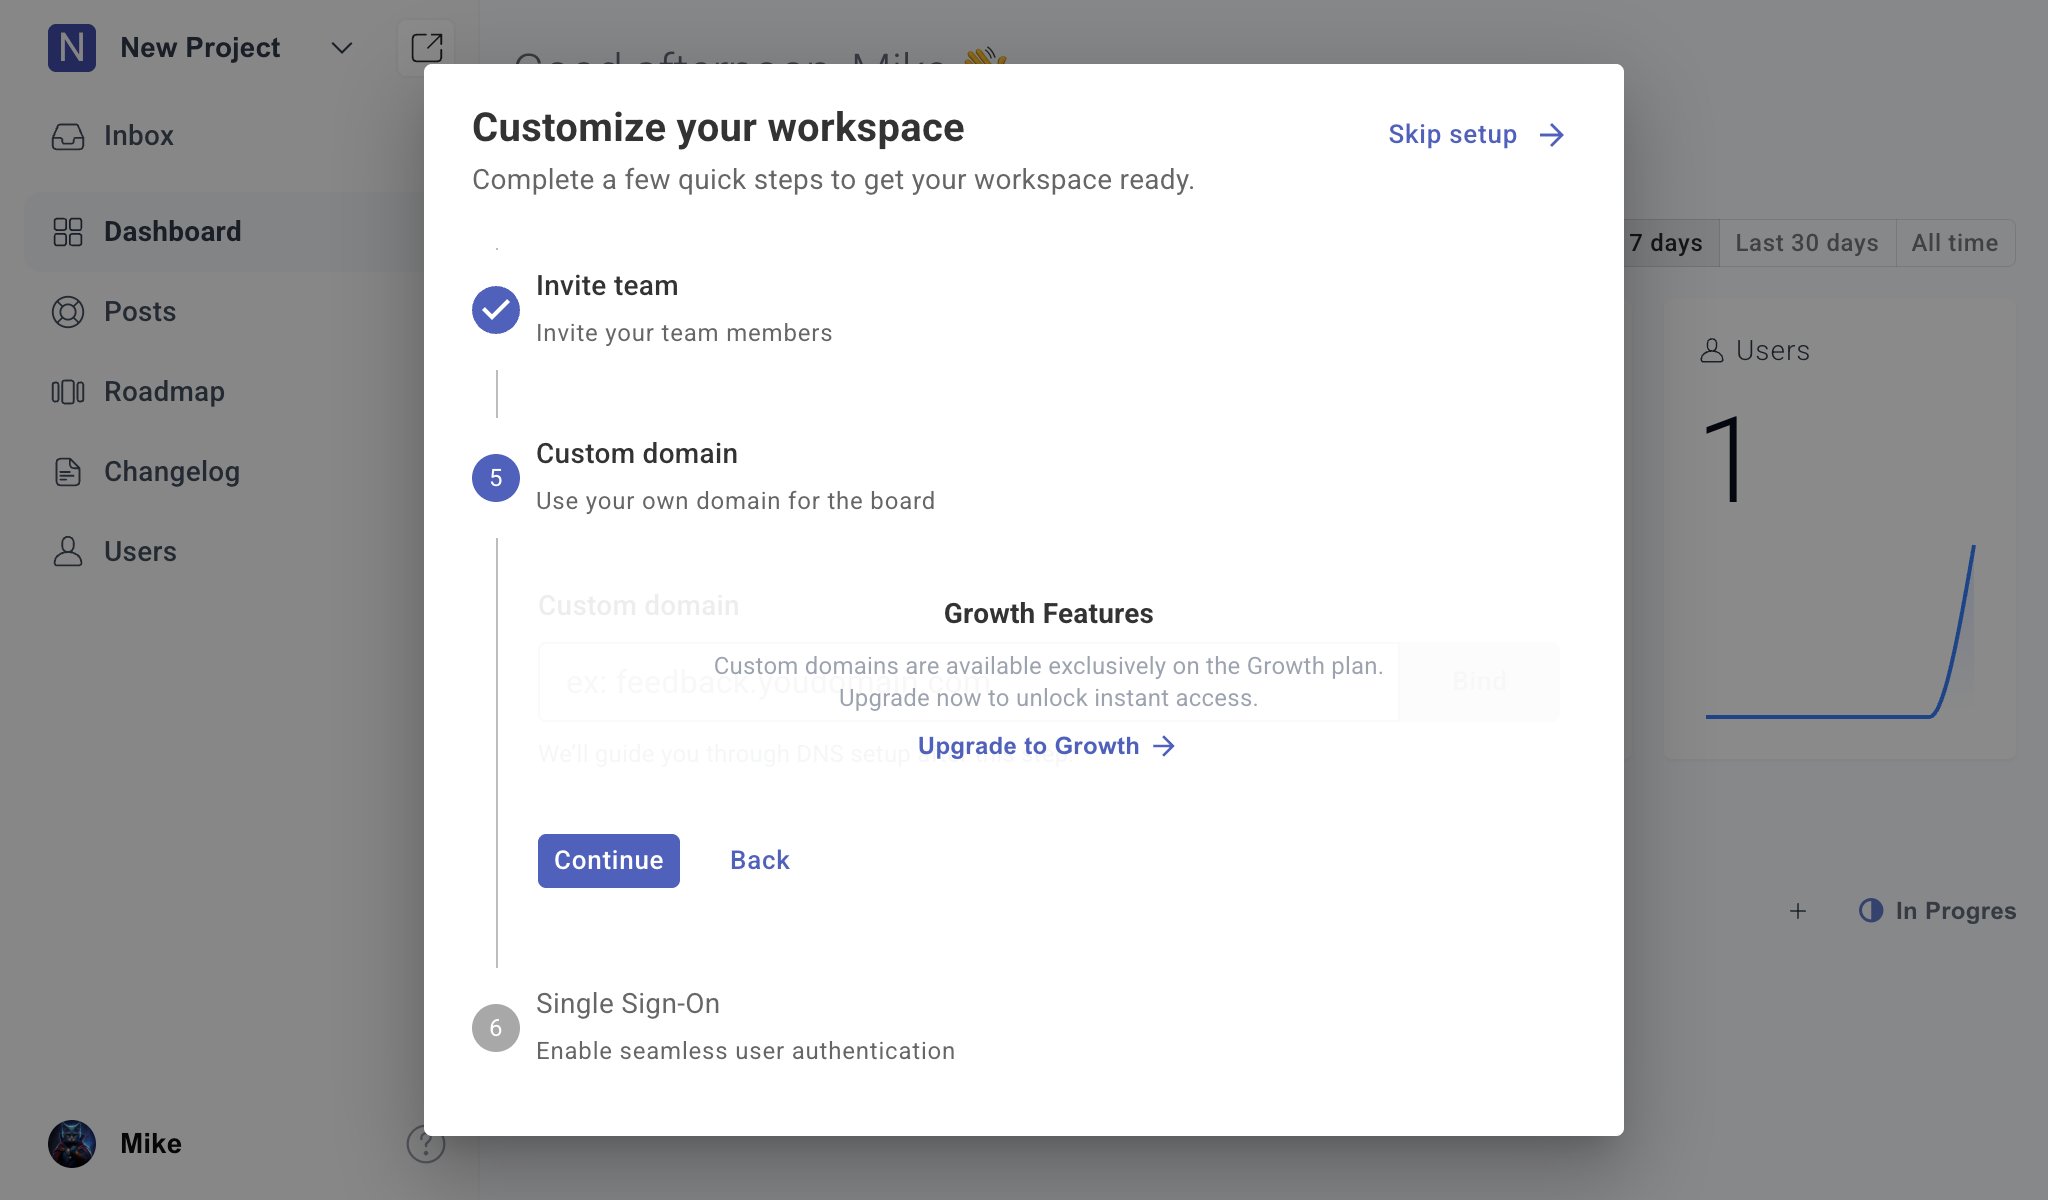
Custom domain
Use a custom domain if you want the public feedback portal to live under your own domain, such asfeedback.example.com.
Single Sign-On
Enable SSO if you want users to access Suggix through your existing authentication system.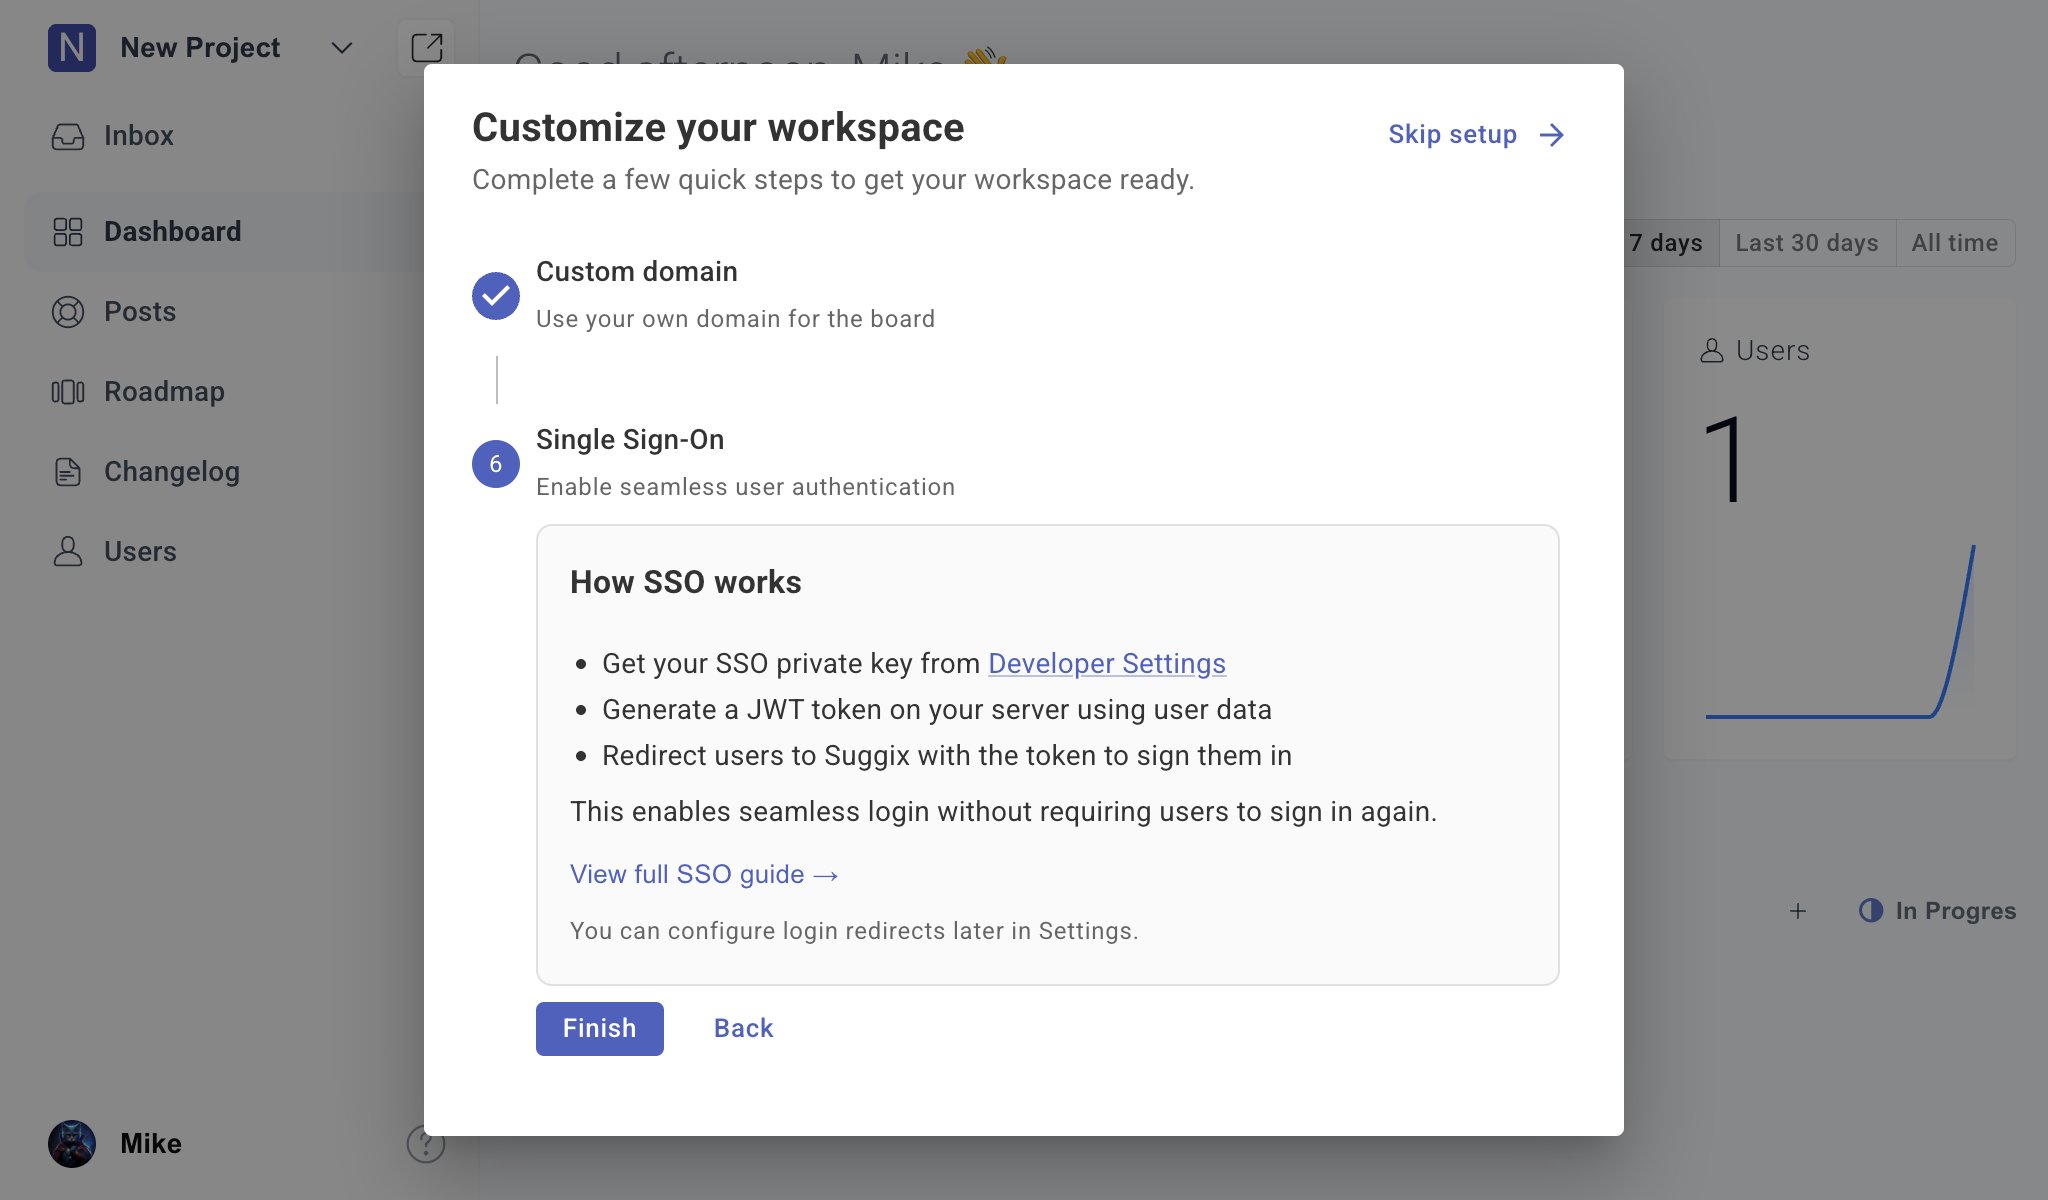
- Getting your SSO private key from Developer Settings.
- Generating a JWT token on your server using user data.
- Redirecting users to Suggix with the token so they are signed in automatically.
What to do next
Once onboarding is complete, start using Suggix with your users:Feedback Boards
Learn how to structure boards for feature requests, bug reports, and ideas.
Voting and Prioritization
Use votes and context to decide what matters most.
Roadmap and Status
Turn feedback into a clear product roadmap.
Changelog
Publish updates and close the feedback loop.
You can revisit skipped onboarding steps later from workspace settings.